Sky Guide X Arrives

Sky Guide X Arrives

Sky Guide has seen many updates in its eight-year history but this latest update is something more. Version X not only adds gorgeous aurora effects, ultra-realistic sky shading, 3D constellation art and a completely redesigned search UI — it also turns the page to the next chapter in the Sky Guide story, bringing an award-winning experience to more people than ever before. That’s because the base version of Sky Guide is now free.

What’s New in Sky Guide X?

Aurora Effects

We don’t all live near the polar circles, but those auroral displays sure can be beautiful. Now you can add some ethereal charm to your evening stargazing — without all the cold weather gear! Look in Main Menu > Preferences to switch on Aurora whenever you please.

Atmosphere.jpg

Ultra-realistic Sky Shading

The sky appearance in Sky Guide looks more real than ever before, representing day, twilight, dusk and night with exceptional accuracy. This is thanks to a physics-based computation known as atmospheric multiple scattering. You can also toggle Stars fade during day if you want star appearances to more closely match reality.

3D Constellation Art

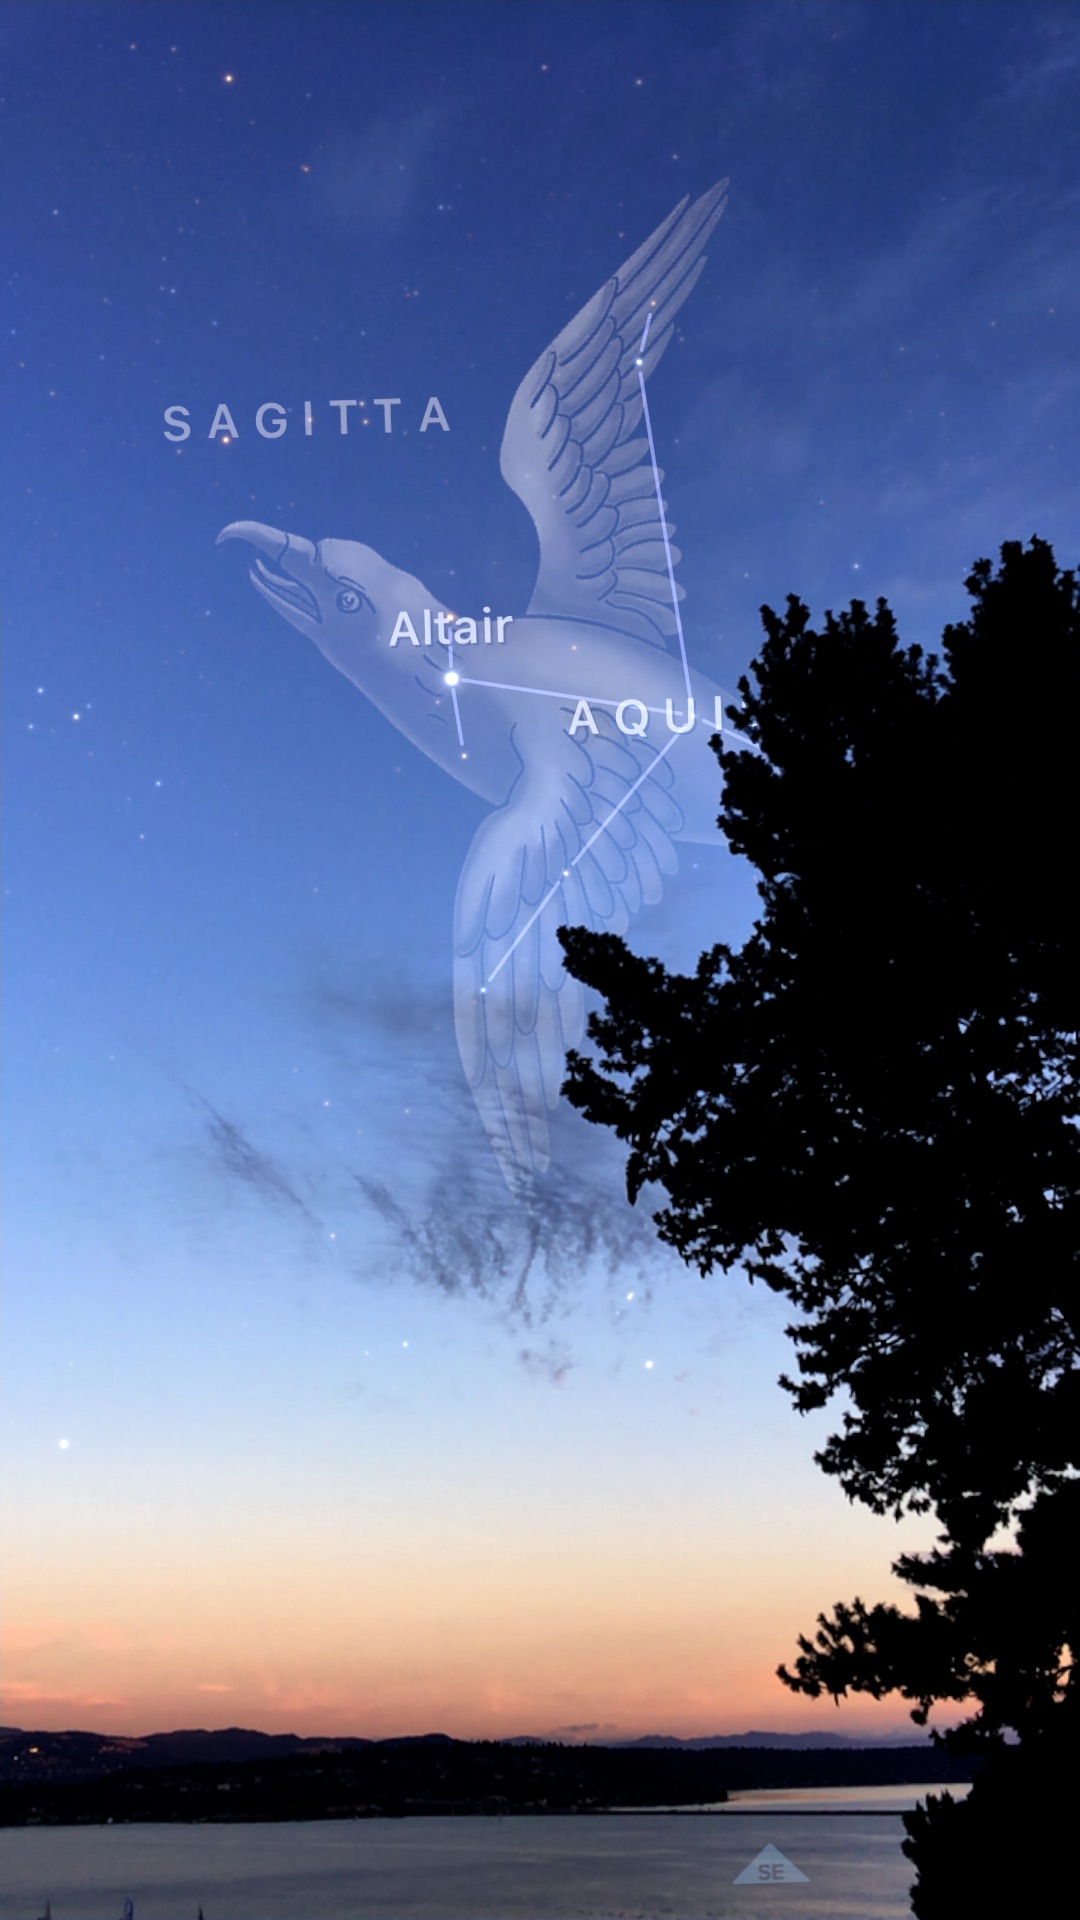
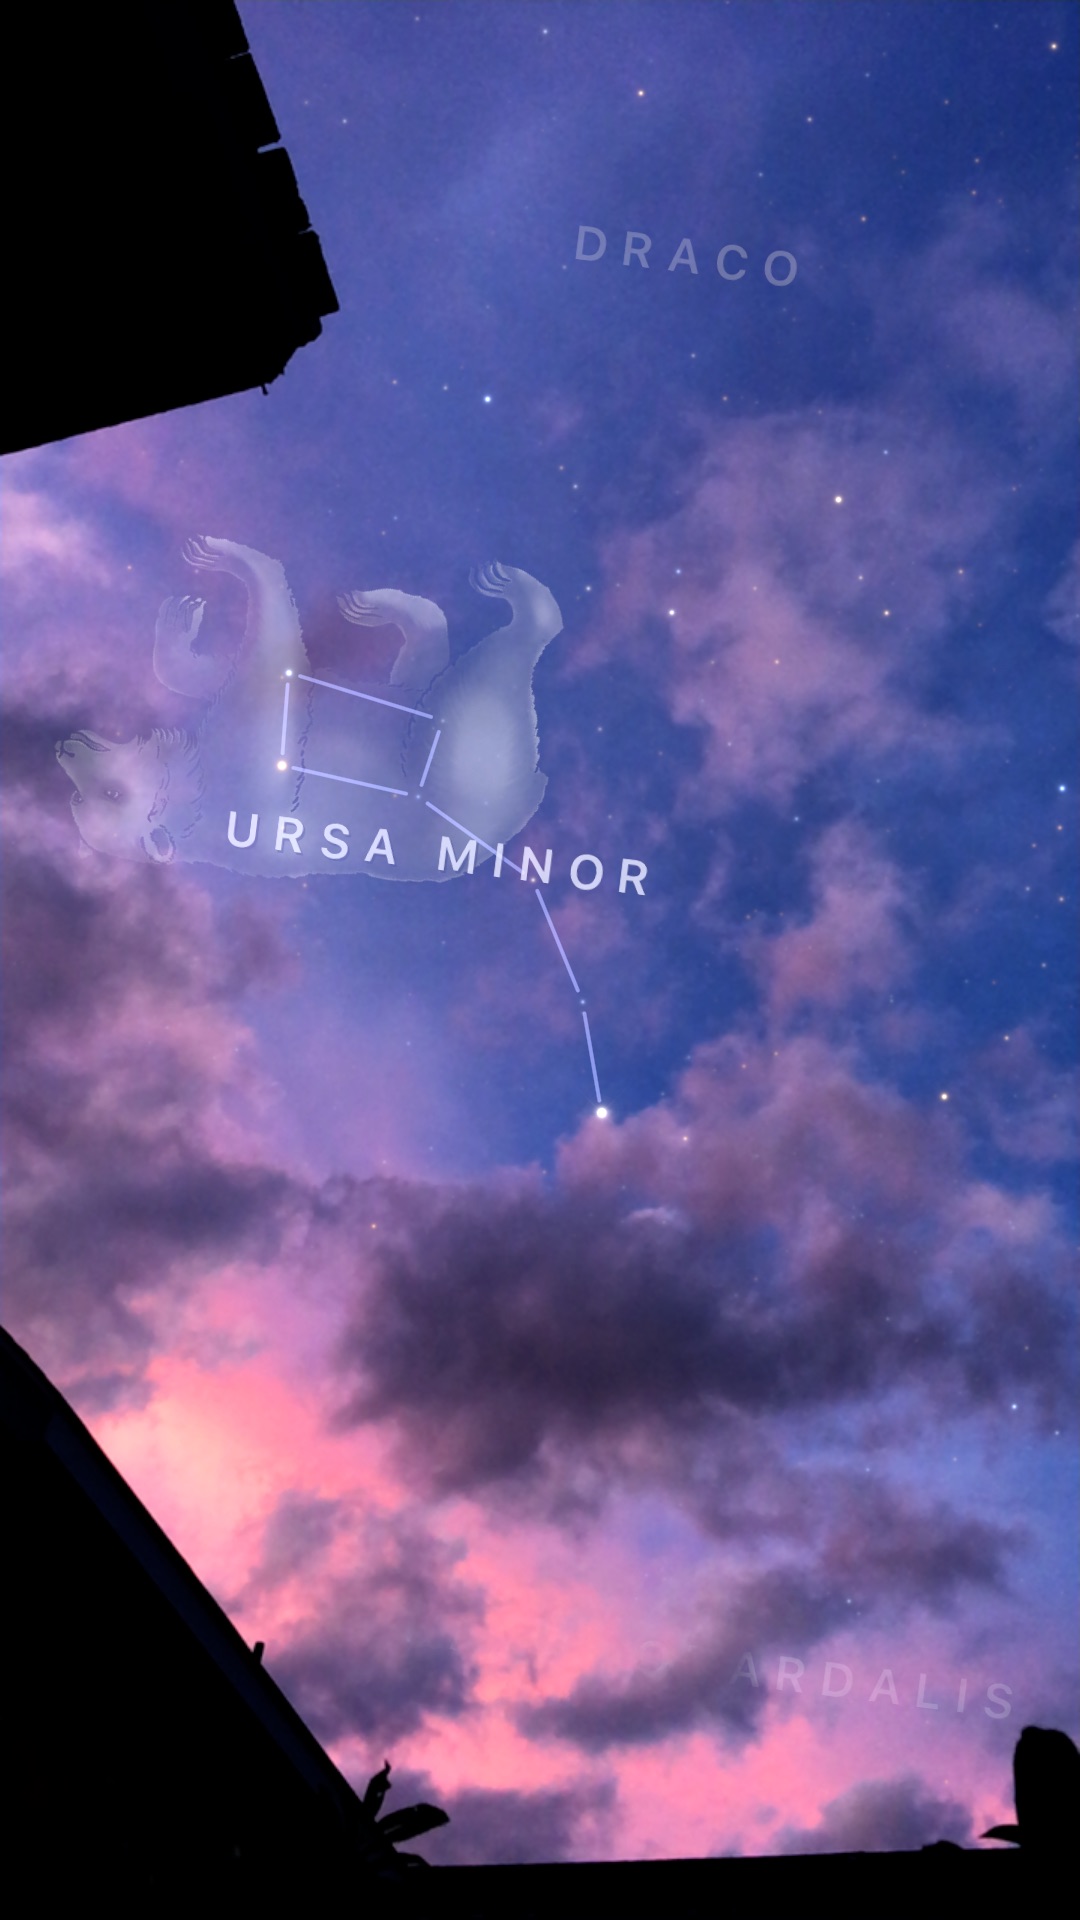
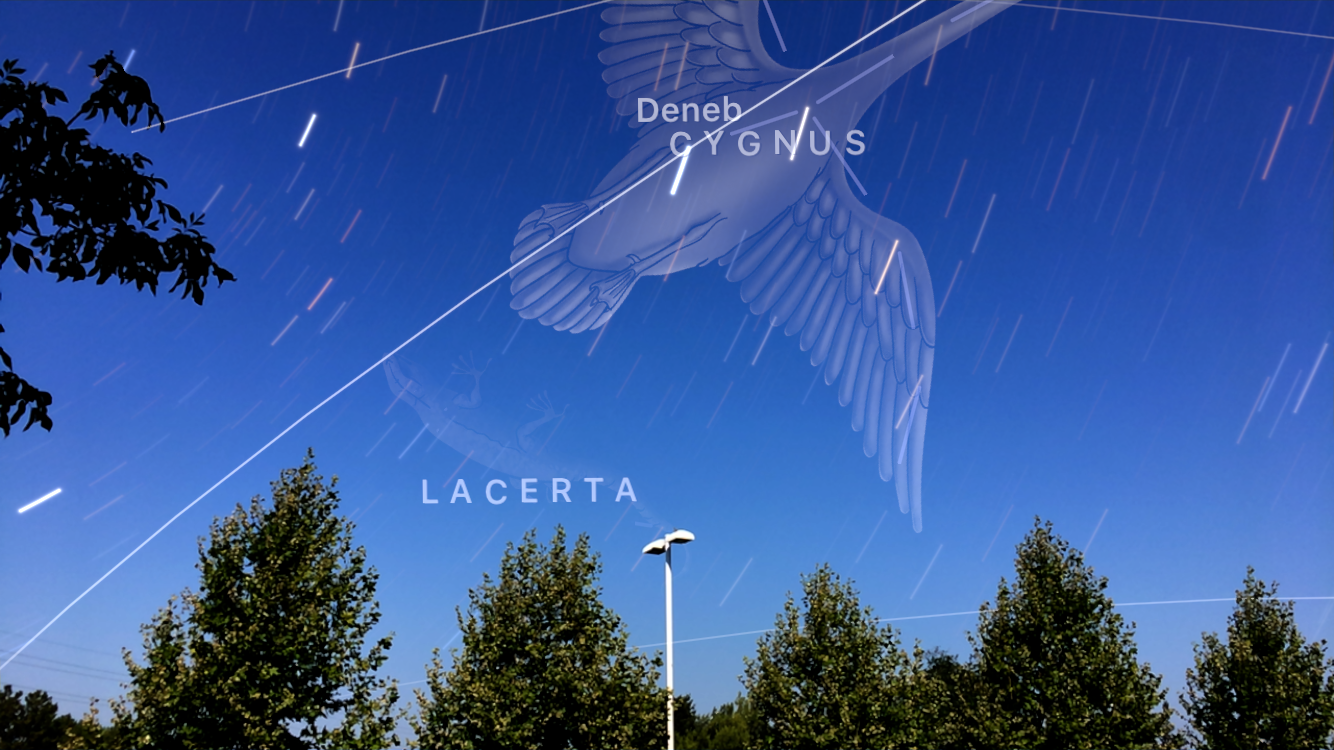
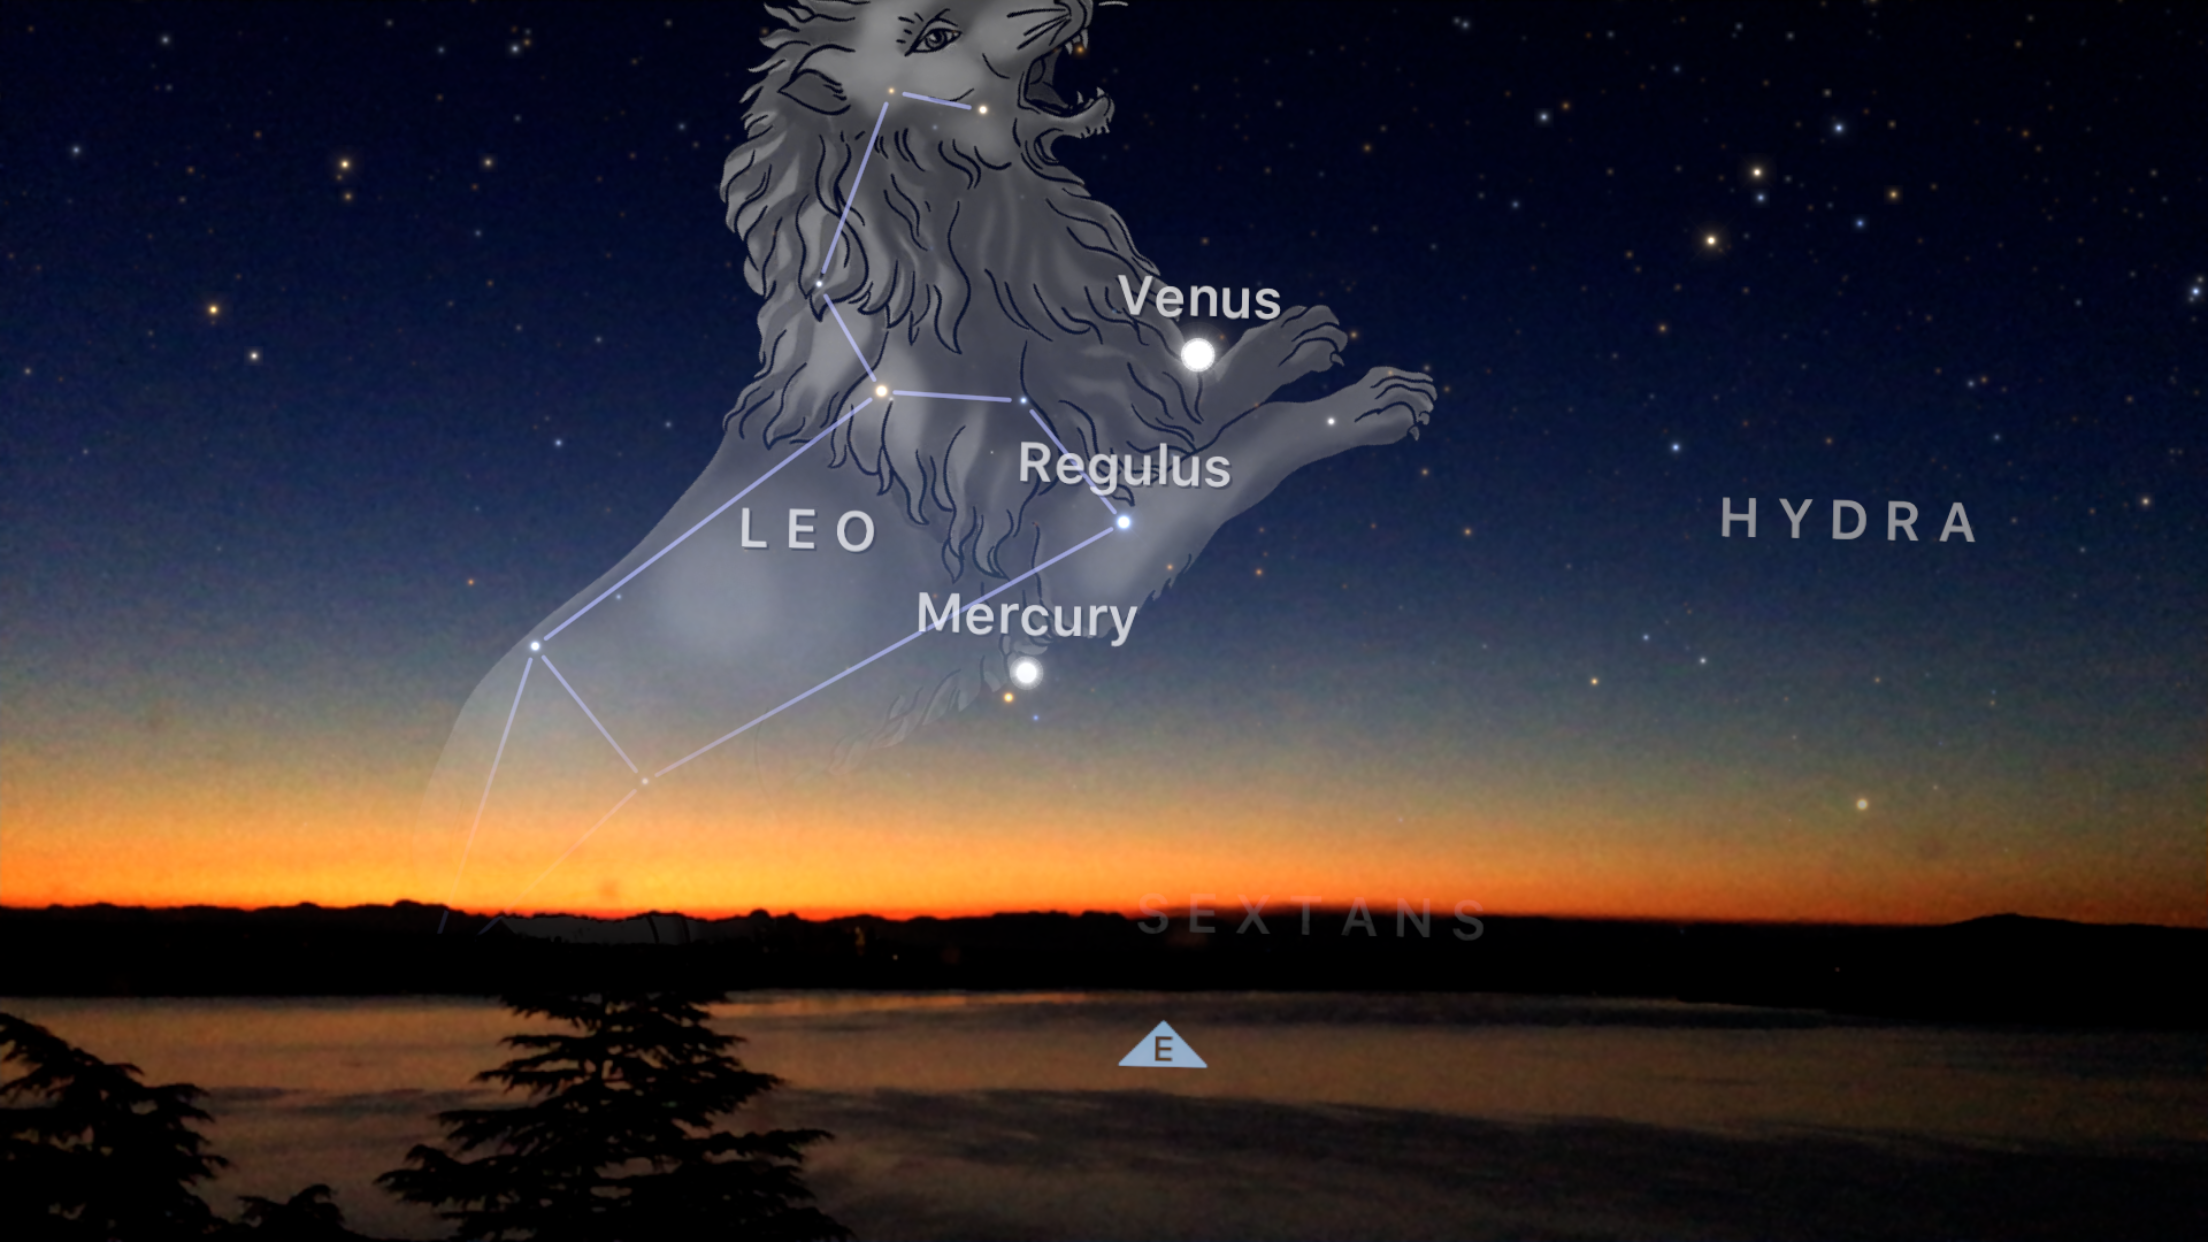
We've breathed new life into the mythological representations that appear with the constellations, adding both charm and better visual quality. You might say this new art is not so ruff around the edges.

Redesigned Search UI

A new, visually-oriented catalog makes browsing objects more intuitive, with great new categories and up-to-the minute curations like Tonight's Best.

Lidar-based Effects

For Lidar-enabled devices, we now have a new effect in AR mode. Scan your ceiling and then tap to shatter it for a fun indoor stargazing experience.

Visit the App Store to update to Sky Guide X today!


Sky Guide 8 is here

Sky Guide 8 is here

We are thrilled to announce the release of Sky Guide version 8, a free update bringing stunning performance gains, refreshing looks, UX improvements and exciting features for power-users. What’s inside the box, you ask?

So Metal 🤘

Completely re-engineered to harness the power of Metal—Apple's high performance graphics system—Sky Guide 8 has the smoothest graphics you've ever seen in a stargazing app. Now you can experience a fluid 120FPS on supported devices.

New Looks

We figured the smooth performance should be paired with smooth looks. Enjoy a new dune-inspired horizon terrain illuminated by a dynamic sky.

AR Improvements

This version improves the tracking, low-light performance and focus quality in AR mode.

New Objects Added

Added asteroids Ryugu, ‘Oumuamua, 1999 KW4, and comet C/2017 T2 (PANSTARRS).

New for SUPERMASSIVE subscribers

Ultrawide zoom lets you see a planisphere-style full sky view. We've also added a field of view indicator.

And (of course) Bug Fixes

Fixed a bug which prevented some users from receiving event notifications. Sorry about that one!

Head over to the App Store and update your version of Sky Guide today!

A SUPERMASSIVE update

A SUPERMASSIVE update

BillionsBanner.png

There is something special about the word billions. Maybe we're just being sentimental, remembering the way Carl Sagan used to say it, or maybe it's just a really big, impressive number. A billion is so big a number that's it's difficult, if not impossible, for most people to visualize. You’ll often find it described via some absurd analogy like: a billion dollar bills stacked vertically would reach 109km tall—that’s a few kilometers above the Kármán line, the generally accepted boundary of space.

At large quantities, our brains seem to lose their ability to visualize and simply default to lots. Our home galaxy, the Milky Way, is thought to harbor some hundreds of billions of stars, which is, depending on your personality, somewhere between lots and awesome. We, of course, use the latter word in its original, non-slang meaning:

Awesome [aw-suh m] adjective. 1) Causing or inducing awe; inspiring an overwhelming feeling of reverence, admiration, or fear.

Minus that whole fear part—don't be scared!—our goal with Sky Guide has always been to instill a sense of awe and we believe one of the ways to achieve that is to demonstrate the tremendous quantities of star-stuff out there in the universe. In other words, when you directly see and interact with billions of stars, the abstract idea of their numbers gives way to the experience.

Yes, Cosmoji. It's full of stars.

In practice, however, there is a problem with achieving that because displaying a ton of star-stuff in a mobile app is really tricky. More stars displayed equals more computation and, despite the ever-impressive advances in mobile graphics processing power, that can significantly impact performance and harm the user experience. Frame drops and loading lag? Not awesome! So it is with much care, caution and enthusiasm that we jam as many stars into the app as possible.

And jam, we have. Version 6.7 turns up the awesome-dial for SUPERMASSIVE subscribers, who will now see 1.7 billion stars in Sky Guide. This is thanks to incorporating the latest star catalog from the European Space Agency's groundbreaking Gaia mission. When you launch Sky Guide, the new catalog will download and replace the old catalog. No additional storage over the standard SUPERMASSIVE requirement of 1GB is required since the additional stars are streamed from the cloud.

So how does version 6.7 SUPERMASSIVE stack up to the previous SUPERMASSIVE? Look at these before and after images to judge for yourself.

Now is a great time to check out SUPERMASSIVE if you haven't yet done so. We offer a free two-week trial so you can take it for a spin and see if it's worth the annual cost ($19.99 in the U.S. and varies by country).

As always, happy stargazing!

Things just got real

ARBanner.png

Bringing the heavens down to Earth has never been easier and more fun thanks to the exciting addition of Sky Guide augmented reality.

With Sky Guide AR you see how the stars relate to your surroundings and your sky. Planet names, constellation lines and larger than life artwork merge with your world to create an enchanting and personal stargazing experience. Here's a quick look:


Let's get some details out of the way... To enjoy Sky Guide AR, you will need:

+ iOS 11
+ iPhone 6s and later or iPad Pro and later (includes 2017 iPad)


First steps:

To activate AR, first tap the center compass button to turn motion tracking on. You'll see a new camera button appear and tapping it will toggle AR. Then, just aim it at the sky!

Augmented reality mode is designed to be used outdoors (or indoors pointed out a window). It works great under a blue, daytime sky, but it has also been made to function under a twilight and even nighttime sky.


Next level tips:

When your surroundings are very dark, you may notice some ghost-like trails behind moving objects (planes, cars, opossums, etc.). This is normal behavior due to the longer camera exposures needed.

Sky Guide automatically tries to adjust the blending of the augmented reality constellations with your real sky but if the constellations are not appearing quite right (if they appear noisy or patchy), you can use a two-finger up/down gesture to fine-tune the blending point.

Sometimes real objects and their corresponding augmented objects are not perfectly aligned. We first recommend giving the compass a few moments to settle in. If things are still not lined up, use a touch and hold gesture to activate the Compass Correction option. Then drag left or right to offset the augmented object until it is aligned with the real object. Sky Guide will retain this offset preference for your current session.


Deep cuts:

+ If you're feeling adventurous, try AR in combination with time-lapse! The combination of star trails and satellites is great fun, plus you can use it for more practical purposes like planning where exactly the Moon will be later for that perfect photo. Time controls have been relocated to the top but they function just like before.

+ The share button is now accessed when AR is on, making your sky sharing more personal than ever.

+ You can also capture Sky Guide videos using iOS 11 Screen Recording (iOS Settings > Control Center > Customize Controls > + Screen Recording). Once Screen Recording is added, swipe up from the bottom edge to view Control Center and start or stop a recording. Your captured videos will save to your Photos app. We can't wait for you to share your beautiful skies with the rest of the world!

Prepare for the 2017 Total Solar Eclipse

The 2017 total eclipse as seen in Sky Guide

The 2017 total eclipse as seen in Sky Guide

On August 21st, 2017, the Moon will pass directly between the Sun and Earth, creating a solar eclipse that will be visible from all of North America and much of South America. The path of totality, where the Moon appears to block the Sun entirely, will pass coast-to-coast across the the United States, shadowing millions of Americans and world travelers alike. Over 12 million people live within this path and tens of millions more are expected to converge on it to witness a couple brief minutes of totality. With Sky Guide, you now have some great tools to plan and watch this exciting event.

Screenshot of Sky Guide's total eclipse planning tool

Screenshot of Sky Guide's total eclipse planning tool


Plan your travels

Sky Guide contains a handy eclipse planning tool that will help you decide where to view the eclipse. Open the app and navigate to Search > 2017 Solar Eclipse. At the top of this page is a map. The shaded area represents locations where a total eclipse will be seen, but being as close as possible to the darker line in the center will ensure you experience the maximum duration of totality. If you do plan on traveling, we highly recommend going all the way!

Move the map to see how eclipse information changes with different locations. Please note that the calculated times for the eclipse are for the time zone your have your device set to. Be sure to take that into consideration if your travels will take you into a different time zone. Also please note that the map above is for travel planning purposes only. It will not update your sky within Sky Guide. For more on how to watch the eclipse within the app, continue reading...

As for selecting your final destination, that is entirely up to you! There are many local communities planning events, so do a little research online before you hit the road.


Safe viewing tips

First, and most importantly, NEVER look directly at the Sun without proper protection. You could damage your eyesight permanently! With that said, there are a handful of ways to safely observe the eclipse:
- Eclipse glasses are low cost and effective at blocking the Sun's harmful rays. You might also check with your local library to see if they will provide any.
- Telescopes can be fitted with a solar filter placed over the front lens.
- Binoculars can also be fitted with solar filters over each lens.
- Whatever method you choose, do not combine eclipse glasses with any telescope or binoculars because the magnified light could damage the filters and harm your eyes.


What to expect on the day of the eclipse

Traffic jams! Millions of people will be converging on a narrow strip of land, so you should seriously consider arriving at your destination a day early, save yourself the stress, and fully enjoy the experience. If that is not possible, consider alternate routes to less popular locations.

When the eclipse finally begins, the Moon will slowly creep in front of the Sun, turning a disc into an ever thinner crescent. As the sky grows darker and totality nears, you might be tempted to remove your eclipse glasses. Don't! Only during totality is it safe to remove your glasses. When you finally do, you'll see an aura of plasma, known as the corona, surrounding the Sun. Look carefully and you'll see the bright star Regulus and the planets Mars and Mercury leading and following the Sun.


Cloudy weather on the day of the eclipse?

Don't worry! You can still watch the eclipse as it happens within Sky Guide, which contains a very precise simulation of the eclipse, right down to the second.

Here are some tips for experiencing it in the app:

  • First, make sure your location is set correctly. If you have travelled to the path of totality, just ensure that you have Current Location selected under Main Menu > Location (also ensure you have given Sky Guide access to Location Services in iOS Settings > Privacy > Location Services > Sky Guide). If you are not in the path of totality but want to view what it would look like from a particular location, set your location to Manual Location instead (just don't forget to change it back later).
  • Next, return to the Main Menu and select Time & Date and check the mark for Select Time. The time of the eclipse varies by location, so just set it to something in the morning of August 21 (If you are watching in real time, you can skip this step and just keep Current Time selected).
  • Close the Time & Date page and then tap the Search button in the top right corner. Navigate to Solar System and then tap on Sun.
  • Pinch to zoom in for a closer look.
  • Now use the time controls provided to zero in on the time of the eclipse. Each tap forward will increase the speed of time. The refresh icon on the right will reset the time back to Current Time which can be used to watch the eclipse in real time.


One final tip, and this might be the most important of them all. Total eclipses are rare and unless you are a dedicated eclipse chaser, this might very well be the only one you ever see. So, especially if this is your first eclipse, try not to fuss too much with technology like phones and cameras. Just relax and enjoy the experience. It will be over quicker than you realize!

We are SUPER-stoked about SUPERMASSIVE

SUPERMASSIVE banner

We’ve been in the lab for the past two years working on something really big. It’s so big, in fact, that only one name seemed to fit: SUPERMASSIVE.

SUPERMASSIVE is an add-on for Sky Guide that gives you access to three amazing features:

+ HIGH DEFINITION ZOOM
Enjoy seamless detail in thousands of galaxies, nebulae, clusters and planets!

+ 50× LARGER CATALOGS
Dive in to 114 million stars, the complete NGC/IC catalog and so much more.

+ CINEMATIC TOURS
Discover the cosmos with breathtaking tours, an exclusive audiovisual series.

Who is SUPERMASSIVE for?
In short, it’s for people who love astronomy! If you like exploring the beauty and vastness of the universe, this is your ticket. We’re offering a free two-week trial period followed by a $9.99 USD annual subscription (prices vary by country). Try it and see if you like it!

How do I get it?
Update to the latest version of Sky Guide and look for the new SUPERMASSIVE option in the main menu.

Happy exploring! And let us know what you think!

The Perseids are Coming!

It's getting to be our favorite time of the year up here in the Northwest. August means warmer nights and one of our favorite meteor showers—the Perseids!

With enough patience under a remote, moonless sky, even the most novice observer is bound to catch a glimpse of a wayward meteor. Often little more than fleeting slivers of light—or dazzlingly bright by fortunate chance—meteors are small specks of cosmic debris (typically smaller than a grain of sand) colliding with Earth's atmosphere at tremendous speed and burning up upon entry. 

The misnomer 'shooting star' is a popular term for meteors, carried over from a time when the nature of these cosmic charms was still unknown. It is now known, however, that meteoroids (the term for a meteor prior to entering Earth's atmosphere) are mostly cometary in origin. Therefore, when Earth crosses the former path of a comet, it passes through a field of leftover debris and a meteor shower occurs. Whatever direction the Earth happens to be travelling at the time of interception generally gives the shower its respective name.

So how does one best view this year's Perseids? There are a few important tips to keep in mind if you are planning to watch: 

1. Timing. The peak date for the 2016 Perseids will be August 11-12 but in reality you don't need to view them on the exact peak date to enjoy them. You could try tonight, in fact, and you'd be sure to catch a few! If you're not interested in early morning viewing, these next few evenings are a better time to get out there because the Moon is still a crescent (read on for why this matters).

2. Darkness. Meteors can be bright but most of the time they are relatively faint so you'll want to find the darkest sky possible. Not only does that mean getting far away from city lights but also checking if the Moon is likely to spoil your darkness. We have a first quarter Moon to contend with this year, so early morning observing will be better than the evening hours (you'll have to wait until around 1:00AM for the Moon to set on August 11).

3. Where to look. Many people are under the false impression that you must know exactly where to look to watch a meteor shower. While it is true that meteor showers do originate from a point in the sky (the Perseids radiate from Perseus), as long as this radiant is above the horizon it is best to relax your gaze and let your eyes wander. Meteors will be seen streaking across many parts of the sky. But if you're looking for the sweet spot, use Sky Guide to point you in the right direction.

4. Patience. Meteor showers vary in both strength and rate so don't be disappointed if you don't see one right away. When it comes to meteor showers, those who wait are sure to be rewarded!

Creating Unforgettable Moments with Sky Guide

At Fifth Star Labs we normally don't blog about personal things but I just had to share this story because it reinforced why I love working on this app.

Long story short? I got married! We had a beautiful seaside ceremony, delicious food at the reception and some pretty spectacular toasts from our friends and family but it was the way the night ended that really put an unforgettable twist on an already perfect evening. It was about 10:55pm and my lovely bride was somewhere on the dance floor when Fifth Star Labs Co-Founder, Chris pulled me aside. His message? He had been looking through the list of upcoming Iridium satellite passes with Sky Guide and saw there would be a magnitude -6.7 flare at 11:09. What?!? How perfect! Plus, our venue was going to kick us out at 11:00 anyway so what better way to clear everybody outside? I had our MC make the announcement about the special event that was about to happen and everybody shuffled outside to stand along the dock for a clear view.

After a few minutes of waiting it began to emerge. The murmurs of "where?" and "do you see it?" were quickly replaced with oooohs, ahhhhhs and cheers as the satellite grew far more bright than any star or planet in the sky. Some were convinced they must have just seen a low-flying airplane. Others had just seen their first satellite. For Chris and I, it was one of our best public demonstrations of Sky Guide ever and it's a moment I'll not soon forget.

So now that I've convinced you this is something you absolutely must see, how do you go about seeing it? Well, we make it pretty easy.

In Sky Guide, tap the Search icon and then the Satellites category. You'll see two subcategories titled Brightest and Iridium. Tap on Iridium and you should see a schedule of upcoming flares listed. If not, be sure you have the flares tab selected near the top.

Now before we go into choosing the perfect pass, what exactly is an Iridium flare? Back in the late 90s, a fleet of satellites were launched by a company called Iridium Communications, providing service to satellite phones, pagers and other gadgets to any surface location on Earth. But their design has a curious side-effect: their highly-reflective antennae reflect sunlight back to Earth at very specific angles. In other words, if you catch those glints at the right time and place, you are in for quite the spectacle.

What makes for the best pass? The brightest one possible, of course! The most intense Iridium flares are at apparent magnitudes of about -8 and are very rare for any given location. Most of the flares you'll see in the Sky Guide list will probably be less bright, at magnitudes of -1 or -2. That's still bright enough to see from any light polluted city, but for a real showstopper you're looking for passes of at least -6. Sky Guide displays these magnitudes in the far right column of each flare listing. Other columns include the N/S/E/W direction and the angle above the horizon so you can predict whether you'll have a clear view. Selecting any of these flares will take you back to the sky view and show you where the satellite is currently located. Make sure you are in automatic pointing mode (either tap the Compass button or simply hold your device up to the sky) so you know where to be looking in the real sky.

You'll probably find that it takes quite a few days—sometimes weeks—to see a really bright flare. If you have opted-in to Satellite Passes (navigate to Sky Guide Main Menu > Notifications > Satellite Passes), Sky Guide will automatically alert you of these super bright flares 3 minutes in advance. Alternatively, if you want to schedule manual reminders for any particular flare, you can always swipe left on a flare listing and tap the Alarm icon.

That's it! Super easy, right? So next time you're out with friends and family, the weather is good and it's getting dark, pull out Sky Guide and treat everybody to an unforgettable experience.

Binoculars for Astronomy: Boring or Breathtaking?

Think you need a telescope to enjoy astronomy? Many department stores would have you believe so, peddling their (500X!) plastic trinkets at ‘bargain’ prices. But astronomy has always been and always will be a game of light—and maximizing the amount of that light passing through your pupils is the secret to bright and sparkling views. Emphasis on the plural: pupils. We have two eyes and by only using one of them, your brain is operating at half-signal!

Many experienced observers find that binoculars provide some of the most enjoyable, awe-inspiring views of the heavens—and for good reason. Binoculars are used with both eyes, which provides bright, spacewalk views of rich, wide-field expanses. Open star clusters shine with gem-like brilliance and even the brighter nebulae and galaxies can be appreciated. Plus, they are much more portable than most telescope setups, meaning you will be more likely to use them. Lastly, they are a dual-purpose instrument, so you can use them for terrestrial, daytime viewing as well. Not so with most telescopes, which typically provide mirror-image or upside-down views.

So what are the most important things to look for when shopping for astronomical binoculars? There are a number of factors that will directly impact your viewing experience but we find the following to be the most important:

  • Apparent field of view: This specification tends to be listed in different ways, sometimes in degrees and sometimes in feet @ 1000 yards (If you see a field of view spec listed in feet @ 1000 yards, simply take the number, divide it by 52.5 and then multiply it by the magnification to get the apparent field of view in degrees. If it is listed in degrees of true field of view, take this number and multiply it by the magnification). Bigger is better with apparent field of view because tunnel vision is no way to get that spacewalk feeling. We really like binoculars with apparent fields of 65 degrees or larger!


  • Exit pupil: This is the biggest factor in determining how bright the image will be and in astronomy, brighter is better. Exit pupil can be calculated by dividing the objective diameter by the magnification (for example, with a pair of 10x50mm binoculars, 50mm ÷ 10 = a 5mm exit pupil). The human eye can dilate to a maximum pupil size of 7mm (if you are reasonably young and your eyes have fully dark-adapted) so finding binoculars with a 7mm exit pupil will maximize the brightness of the image. But we find that exit pupils of 5mm provide sufficient  brightness for most observers and viewing conditions.


  • Eye relief: This is especially important for eyeglass wearers but greater eye relief really makes viewing more comfortable for everyone. Generally, at least 15mm of eye relief is recommended for the most comfortable viewing. 20mm is even better but you shouldn't need any more than that.


  • Magnification: One might assume that greater magnification is better for astronomy but that’s too simplistic. Keep in mind that many star clusters span multiple degrees and low power can be quite suitable for such objects. It’s also important to consider that magnification has a direct impact on the exit pupil, and diminishes brightness (see exit pupil, above). Lastly, if you are holding binoculars by hand, higher magnifications tend to appear unstable, causing stars to jitter wildly. Unless you plan on using a mount (which defeats the attractive portability of binoculars), we would advise against choosing anything above 10X magnification.


  • Optical and Build Quality: This is a more difficult specification to judge on paper but will also determine the quality of viewing (and the price). Fully multi-coated optical surfaces will improve the contrast. Terms like ED, HD, or APO generally imply the use of higher index glasses and there will be less chromatic aberration (different colors of light not coming to focus at the same point) and field curvature (out-of-focus stars toward the edges of the field). Waterproofing and fogproofing usually means that the optics are sealed from the elements and gas-purged, which is helpful if you live in more humid regions or plan on using your binos in wet conditions (perhaps you are a hunter?).


So what binoculars should you get? That really depends on how much you’re willing to spend, so we’ve selected a number of binoculars at different price-points, from get-the-job-done budget models to a high-end spacewalk experience:

$44.99 Bushnell PowerView 10x50 Wide Angle Binocular
What we like about them:
- Great apparent field of view (65 degrees)
- Good exit pupil (5mm)

$88.55 Nikon ACULON A211 10x50mm Binoculars
What we like about them:
- Great apparent field of view (65 degrees)
- Good exit pupil (5mm)

$227.00 Leupold 10x50mm BX-2 Acadia Binoculars
What we like about them:
- Good apparent field of view (58 degrees)
- Excellent eye relief (19mm)
- Good exit pupil (5mm)

$359.95 - Celestron Granite 10x50mm Binoculars
What we like about them:
- Great apparent field of view (65 degrees)
- Good eye relief (17mm)
- Good exit pupil (5mm)
- Good optical quality
- Waterproof and fogproof

$699.00 - Steiner 10x56mm Nighthunter XP Roof Prism Binoculars
What we like about them:
- Excellent apparent field of view (68 degrees)
- Good eye relief (17mm)
- Great exit pupil (5.6mm)
- Great optical quality
- Waterproof and fogproof

$2,399.00 - Leica 10x50mm Ultravid HD / Black Armored Binoculars
What we like about them:
- Excellent apparent field of view (67 degrees)
- Adequate eye relief (15mm)
- Good exit pupil (5mm)
- Excellent optical quality
- Waterproof and fogproof

But what about Brand XYZ 25x100mm? Why are those not listed? Don’t get us wrong. Big binoculars are pretty neat too—one of us owns a pair of 15x80mm Steiners, in fact—but they get pretty difficult to hold steady without some type of support and we believe that defeats one of the main benefits of binocular astronomy, that is, ease of use and portability. Besides, even 15X or 25X doesn’t give you enough power to pick out planetary details anyway, so is the extra magnification even worth the hassle? A keen observer might notice that most of our recommended binoculars are 10x50mm—that is no coincidence! We find 10x50s to be an ideal balance between brightness, field of view and weight—an astronomical sweet spot! But don’t let that limit your options if you prefer something else.

As developers of Sky Guide, we get a lot of questions about which telescope to buy, but the truth is that for many people, binoculars are a better place to start. Follow these guidelines when shopping for your own pair and you'll be on your way to enjoying some of the best sights the night sky has to offer. Good luck and happy stargazing!